This tutorial with show you how to seed your Jenkins jobs from a DSL file. Out-of-the-box Jenkins does not support seed jobs. To enable it you will need to install the Jenkins Seed plugin.
Why Seed Jenkins
By defining all of your jobs and views in a DSL file or a group of DSL files you can quickly recover everything, in the event of a disaster. The DSL uses Groovy, which is based on Java.
Installing the Seed Plugin
- From the top menu, navigate to Jenkins > Manage Jenkins > Manage Plugins.
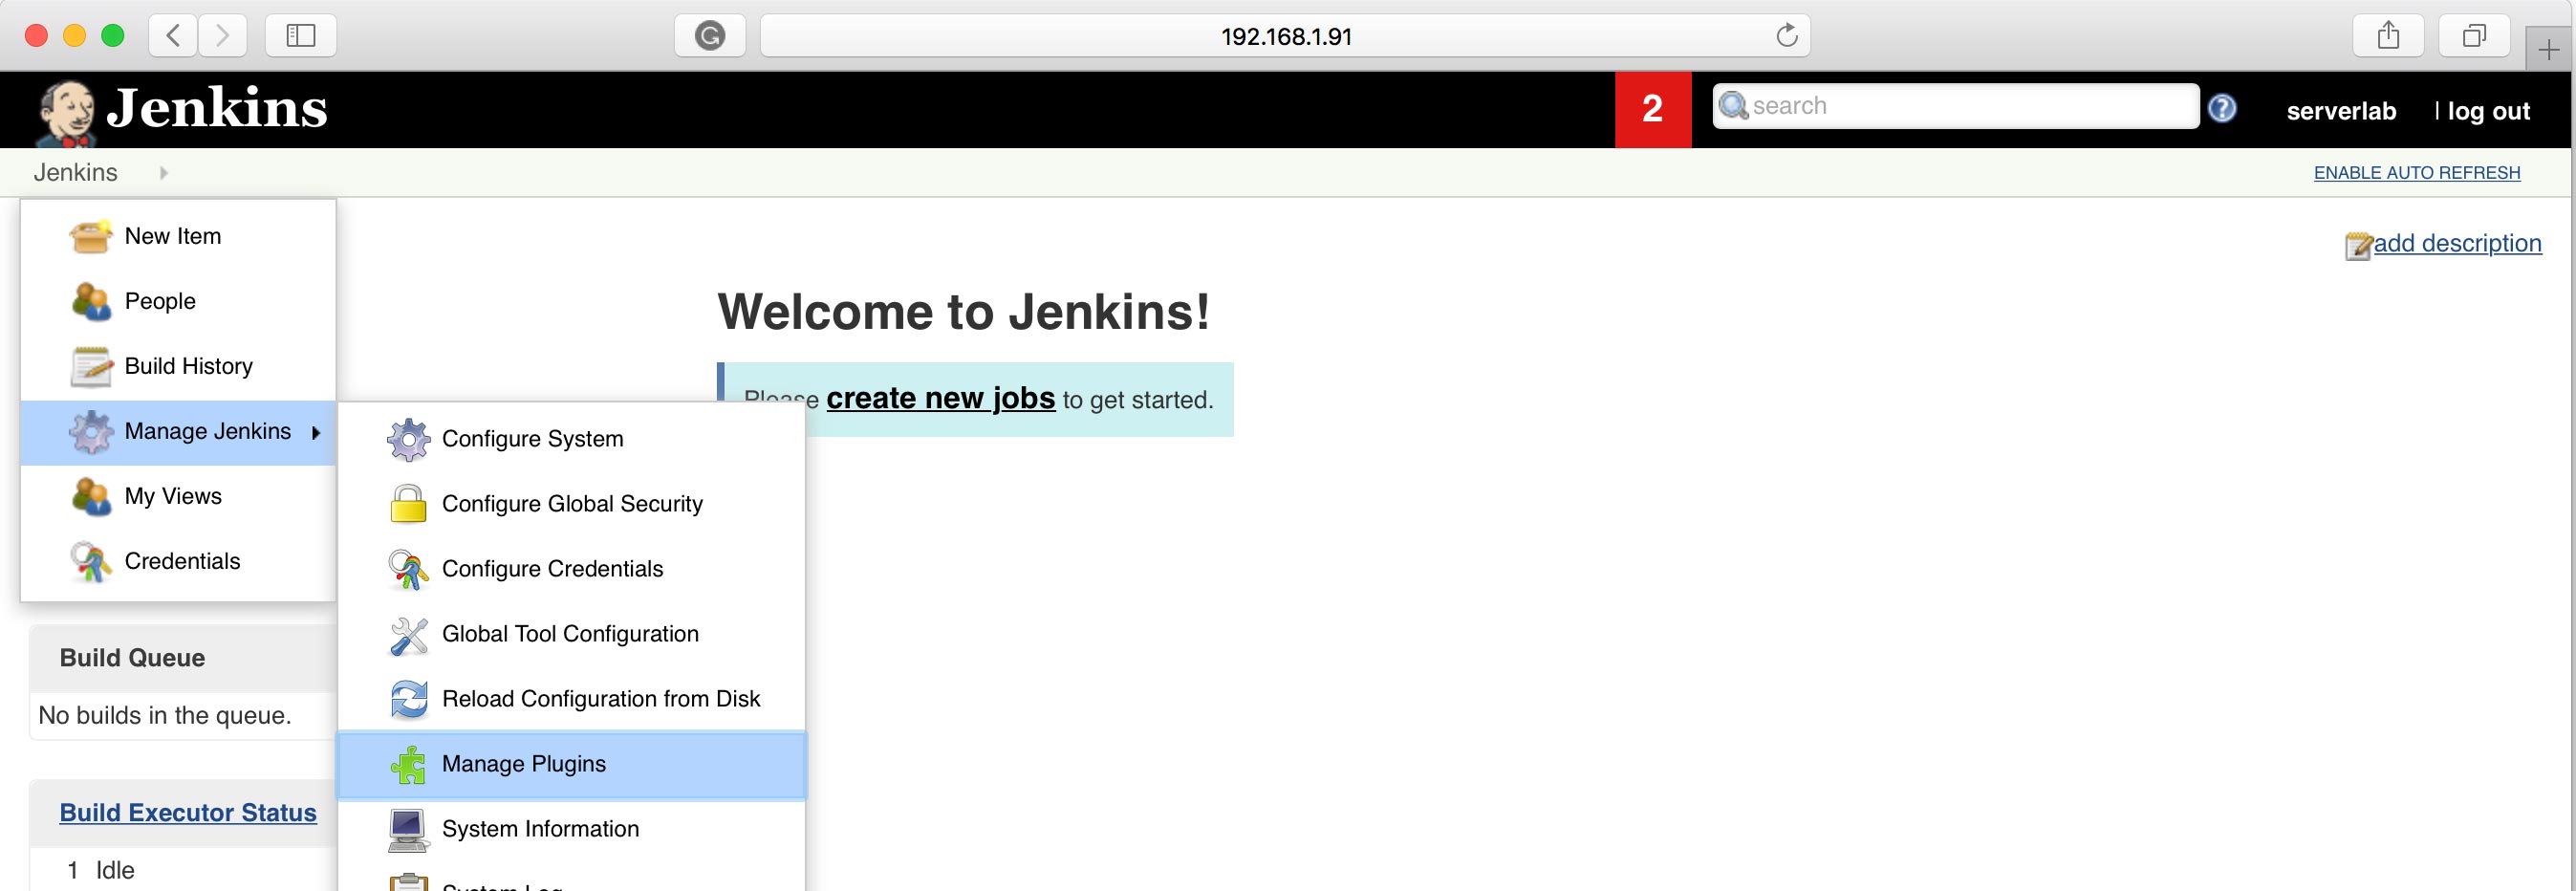
Jenkins – Manage Plugins menu item - Click the Available tab on the Plugin Manager screen.
- Filter the results using the keyword seed.
- Select the Seed Jenkins plugin from the available list of plugins.
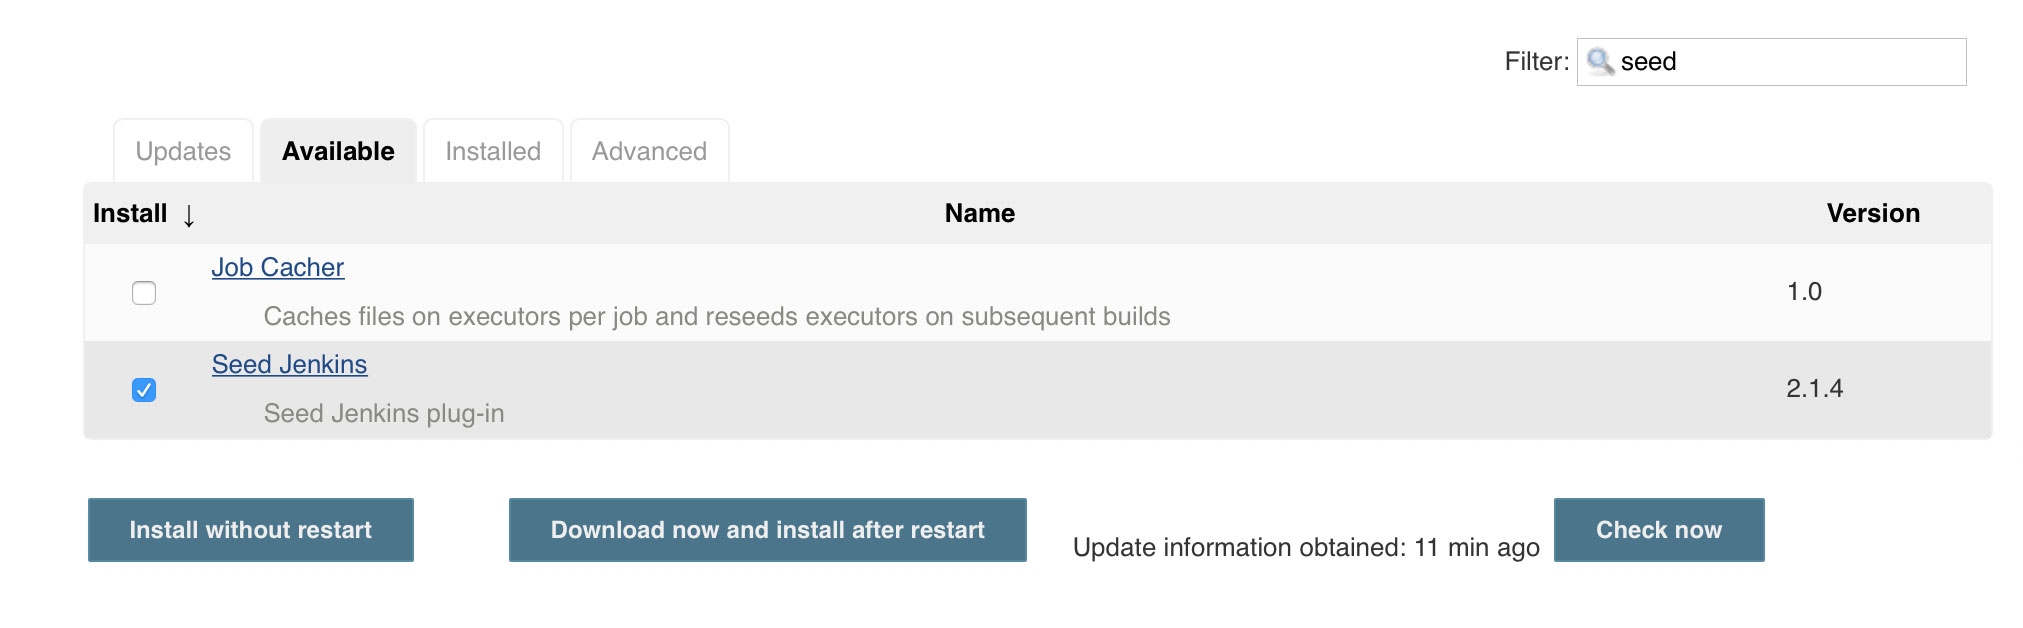
Select Seed Jenkins plugin - Click the Download now and install after restart button.
- The Seek Jenkins plugin and all of its dependencies will be installed. Refresh the screen until the installation and restart are complete. You will be logged out when Jenkins restarts.
- Log back into Jenkins.
Writing a simple Internal DSL Script
DSL scripts can be written directly in the seed job’s configuration page. This stores the script in Jenkin’s internal database and is the easiest way to get started.
- From the top navigation menu, select Jenkins > New Item.
- Enter a name for the seed job.
- Select Freestyle project
- Click OK
- In the job configuration screen under Build, add an additional step called Process Job DSLs.
- Select Use the provided DSL script radio option.
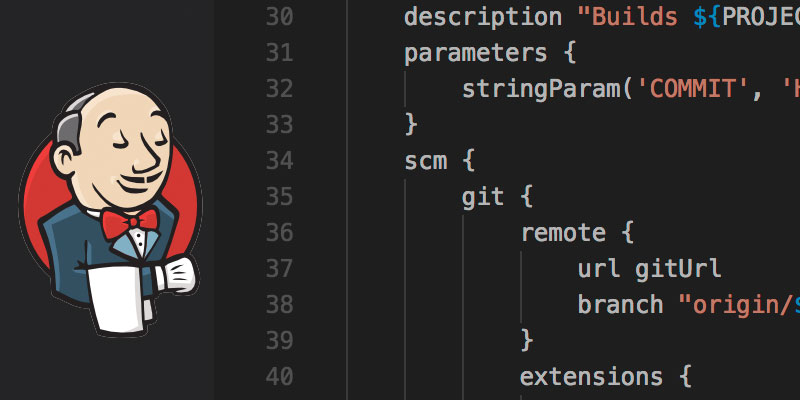
- Write your DSL in the textbox that is now available. The following example will create a job named MyProject-Build with a single task that prints a message.
def gitUrl = "https://github.com/example/project.git" job("MyProject-Build") { description "Builds MyProject from master branch." parameters { stringParam('COMMIT', 'HEAD', 'Commit to build') } scm { git { remote { url gitUrl. branch "origin/master" } extensions { wipeOutWorkspace() localBranch master } } } steps { shell "Look: I'm building master!" } } - Click Save at the bottom of the Job configuration screen.
- Run the job by clicking Build.
Using a Git Repository to Store your DSL Files
Rather than writing DSL inside of the Jenkins interface and storing them in the local database, you can store your DSL files in a Git Repository. The benefit of choosing this option is the ability to version control your DSL files.
The Seed plugin allows us to pull DSL files from Git repositories, such as Github and Bitbucket. We’ve created an example repository
Create the DSL Git Project
- Create a new Git project to store your DSL files.
- Create a directory called MyProject.
- Create a Groovy file called MyProject-Build.groovy in the MyProject directory.
- The following example will create a job called MyProject-Build.
// MyProject-Build.groovy def gitUrl = "https://github.com/example/project.git" job("MyProject-Build") { description "Builds MyProject from master branch." parameters { stringParam('COMMIT', 'HEAD', 'Commit to build') } scm { git { remote { url gitUrl. branch "origin/master" } extensions { wipeOutWorkspace() localBranch master } } } steps { shell "Look: I'm building master!" } } - Push your repository to Github, Bitbucket or your favorite Git repository.
Create a Seed Job that Pulls your DSL
- From the top navigation menu of Jenkins, select Jenkins > New Item
- Give the project a name. For example, we entered Seed Job.
- Select the Freestyle project option.
- Under Source Code Management of the job configuration page, select Git and then fill in the required information.
- Under Build of the job configuration page, click Add build step and then select Process Job DSLs.
- Ensure Look on Filesystem is selected under Build.
- In the DSL Scripts text field, enter the name of the groovy file you want to use. If you have a collection of DSLs organized in directories, you can enter **/*.groovy to run all DSL files.
- Click Save at the bottom of the job configuration page.
- Build your seed project to pull the DSL files and create your jobs.


