
Overview
The installation process of Red Hat Enterprise Linux 7 (RHEL 7) has had a dramatic improvement over its predecessors. In this tutorial we’ll do an overview of the new installation process.
The system requirements, if you decide to run the new Gnome desktop environment, are much higher than the previous Red Hat release. This new version leaves Gnome version 2 behind and embraces Gnome version 3. For those who are a bit critical of the new Gnome, Red Hat does a magnificent job of making it what Gnome 3 should have been.
Start the Installation
- Load the installation disc or ISO
- Start the installation by selecting either of the two Install Red Hat Enterprise Linux 7.0 options. The Test this media option should be done to verify your download isn’t corrupted.

The new Red Hat installation disc boot menu. - The first screen welcomes you and asks you to set the language to be used during the installation. Select your langage and then click Continue.
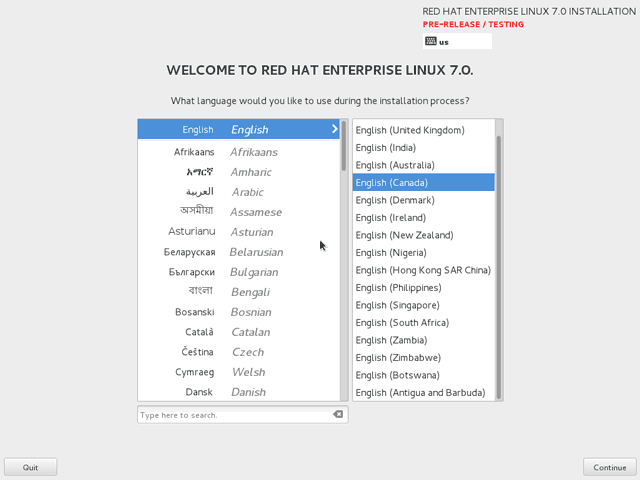
RHEL 7 installation – Language Select - Installation Summary – This is where things make a dramatic change. This screen is where you start defining installation. Notice the three main areas – Localization, Software, and Storage.
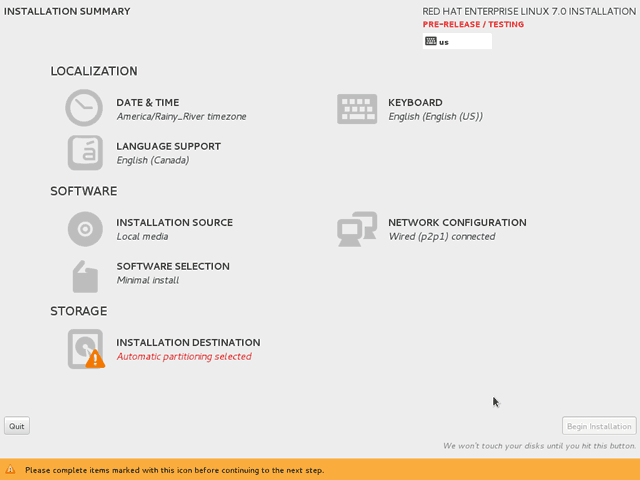
RHEL 7 Installation Summary
Localization
This section sets the installation’s language, date and time, as well as the default keyboard layout. If connected to a network with Internet access, the installation can determine with some accuracy your locale’s information.
Date & Time
- Click the Date & Time option to set your timezone and the system’s time.
- Select your region and city. Click the gears next to Network Time to configure an NTP server.
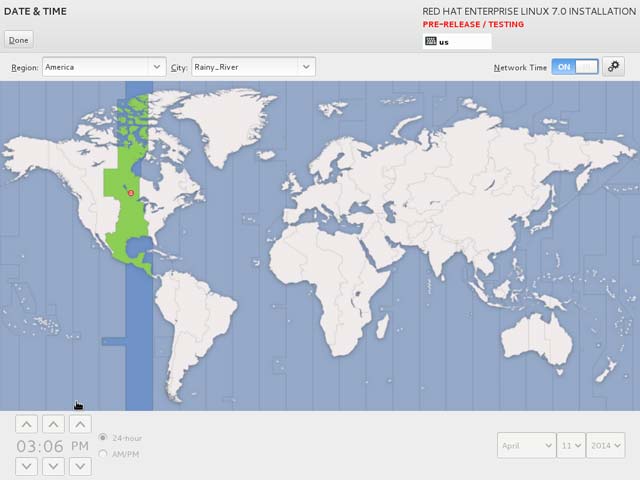
RHEL 7 Installation – Date & TIme screen - Click the Done button at the top-left of the screen when done.
Keyboard
A keyboard layout was automatically selected based on our language selection for the installation process. You can add more keyboard profiles or modify the existing one here.
- Click the Keyboard button on the Installation Summary screen.
- Review the keyboard profile and make changes if necessary.
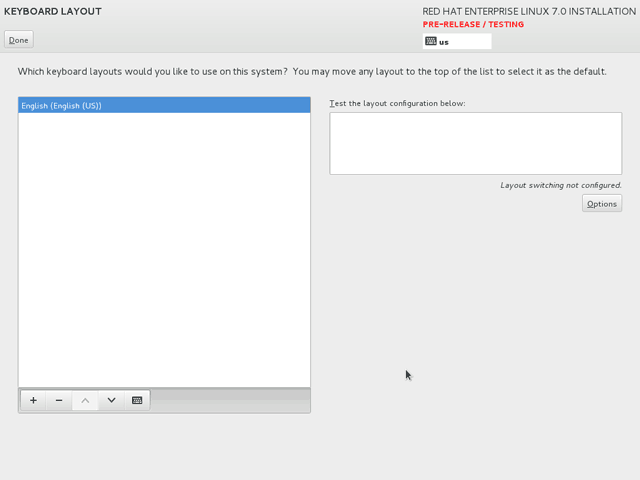
RHEL 7 Installation – Keyboard - Click the Done button, located in the top-left corner, to go back to the Installation Summary screen.
Language
The third localization option is language. By default, this will be set to the language set for the installation process. If you’d like to modify it or add more language packs, you can do so here.
- Click the Language button under Localization.
- Select your language preferences. You may select more than one.
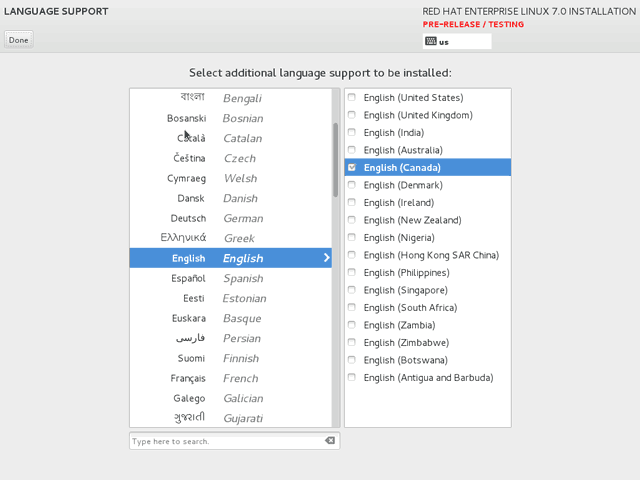
RHEL 7 Installation – Language selection - Click the Done button, located in the top-left corner, when finished and to go back to the Installation Summary screen.
Software
Next, we configure the software installation source, the packages and/or package groups, and the network settings.
Installation Source
The Installation Source screen is where we can configure the source of our installation files. This can be the installation disc or some network location. We can also add additional repositories in addition to the default ones.
- Click the Installation Source button on the Installation Overview screen.
- Define the source of the installation. By default, it will be the installation disc or ISO.
- Add any additional package repositories.
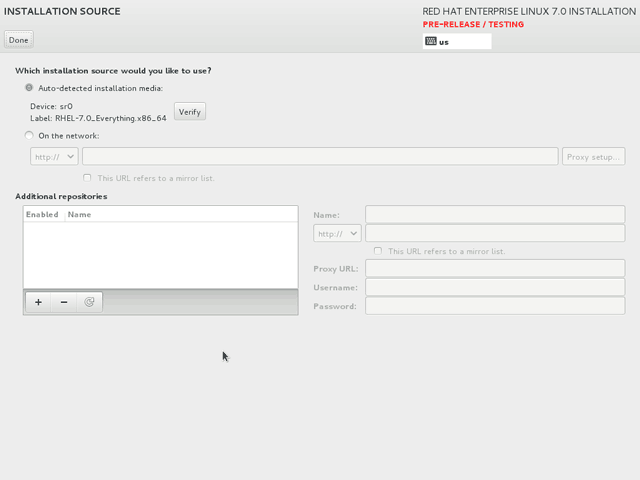
RHEL 7 Installation – Installation Source Location - Click the Done button, located at the top-left of the screen, when finished. This will bring you back to the Installation Overview screen.
Network Configuration
This is where we configure our network interfaces. We make configure them to have static IP addresses or DHCP assigned. We aslo set the server’s hostname and which interfaces will enabled at boot.
- Click the Network Configuration button on the Installation Overview screen.
- Configure the network interfaces and set a hostname.
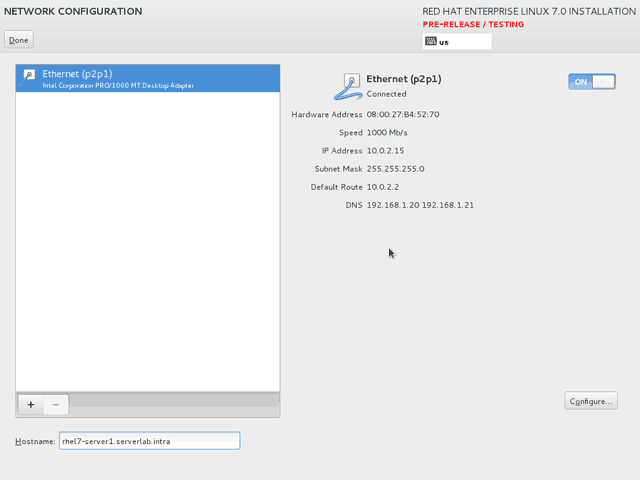
RHEL 7 Installation – Network Configuration - Click the Done button, located at the top-left of the screen, when finished. This will bring you back to the Installation Overview screen.
Software Selection
This is where we finally decide the role the server will take. In this screen, we select the base environment – packages common for certain types of roles – and any other additional packages, if required.
- Click the Software Selection button on the Installation Overview screen.
- Select Base Environment for the server.
- Select any additional packages in the Add-ons for Selected Environment list.
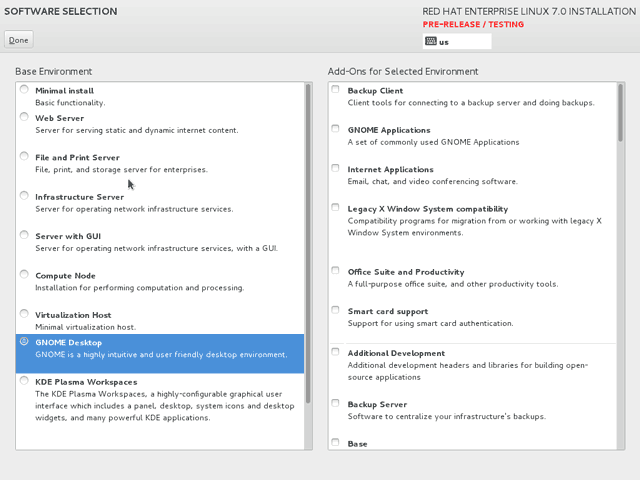
RHEL 7 Installation – Software Selection - Click the Done button, located at the top-left of the screen, when finished. This will bring you back to the Installation Overview screen.
Storage
The storage section is where we select the storage type, partition schemes and create our logical volumes for the Red Hat installation.
Installation Destination
- Click the Storage Destination button on the Installation Overview screen.
- To configure a local disk, select it. Otherwise, to add iSCSI or other types of storage for the installation, click Add a Disk under Specialized & Network Disks.
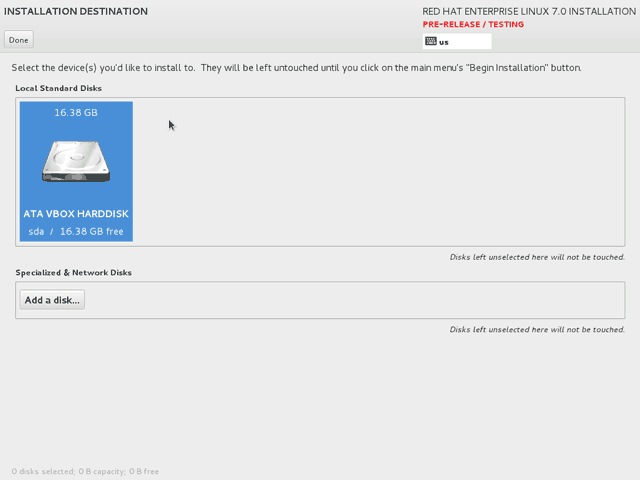
RHEL 7 Installation – Installation Destination - Click the Done button when you’ve selected the disk to be used as the installation destination.
- You’ll then be selected with Installation Options. Here is where you define your partitions, logical volumes, and filesystems.
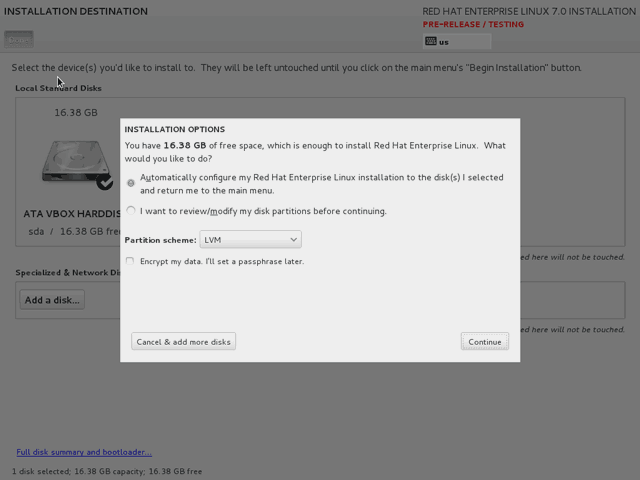
RHEL 7 Installation – Installation Options - Click the Continue button when done selecting partitionaing scheme. You’ll be brought back to the Installation Overview screen.
Finalize the Installation
Our installation is now configured and we are ready to finally install Red Hat Enterprise Linux 7.
- On the Installation Overview screen, after everthing has been configured, click Begin Installation.
- While the installation runs, we our asked to set Root’s password and create any user accounts we need.
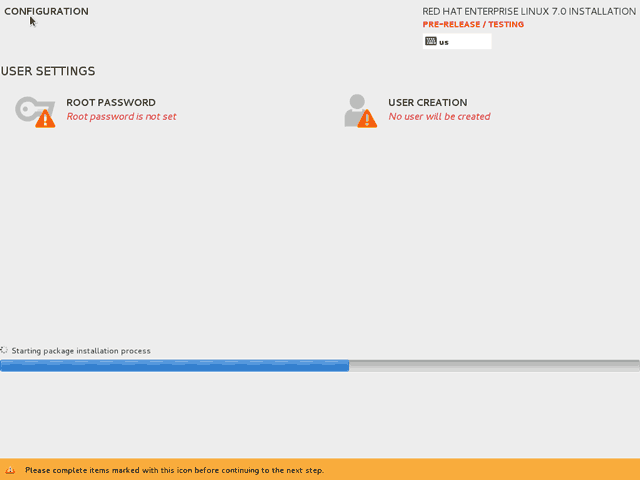
RHEL 7 Installation


