Overview
This tutorial will guide you through the deployment process of MariaDB on Ubuntu 14. We’ll start by configuring the hardware and then move into the installation and configuration of MariaDB.
MariaDB is a fork of the very popular and open source MySQL database, which is now owned by Oracle. In fact, the two were created by the same individual. They are essentially a mirror of each other, so a lot of the knowledge used to run MySQL can be used for MariaDB. This should make migration easier to swallow.
Install MariaDB
Beginning with Ubuntu 14, MariaDB is now found in the package archive.
- Download the required packages to start the installation process.
sudo apt-get install MariaDB-server
- You will be prompted to set a password for the root account. Type in a password and then press Enter.
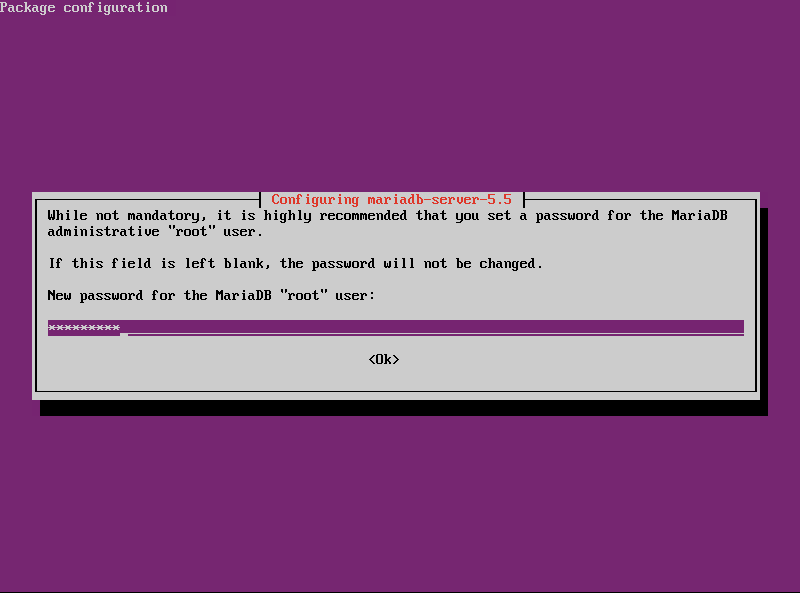
FIG1 – MaraDB – Set Root Password - When prompted, re-enter the password to verify it.
- After setting the password for root, the installation will complete.
Securing the Installation
The default installation includes settings and accounts that are good for testing, but they will make your server a fairly large security target.
One example is the Root database account – it has no set password. Anyone can access your databases just knowing this account name. Thankfully, much like MySQL, we can run a script that walks us through closing these security concerns.
- Run the secure installation script. MariaDB must be running before this script can be executed.
/usr/bin/mysql_secure_installation
- You are first prompted to enter the password for root. We set this during installation, so you may press ‘N’ and then Enter to proceed without changing it.
- A prompt to change the password for root will appear. Press ‘Y’ and then Enter to set one.
- Next you will be prompted to remove anonymous users. Press ‘Y’ and then Enter to do so,
- When asked to disallow root remote login, press ‘Y’ and then Enter. Your root account should never have remote access.
- When prompted to remove the test database, press ‘Y’ and then Enter.
- Finally, you will be asked to reload the privileges table. Press ‘Y’ and then Enter. This will flush out the old permissions to apply the new ones.
Logging into MariaDB
The administer the server and create databases we need to log in. To do this we use the following command.
mysql -u <username> -p
The -u switch tells MariaDB which user account to log in with, and the -p switch tells it to prompt us for a password. To log in as root, we would do the following.
mysql -u root -p
Allowing Remote Connections
The default installation of MariaDB on Ubuntu only listens for connections on the local loopback interfaces. This means only services running locally on the host can access the database. This is typical for a LAMP configuration.
When deploying your application and database onto different hosts, we need to configure MariaDB to listen on a network interface accessible from the network.
- Open the MariaDB configuration file into a text editor.
nano /etc/mysql/my.cnf
- Look for the following line
bind-address: 127.0.0.1
Modify it so that the address is that of a network interface connected to your network.
bind-address: 172.30.0.75
- Save your changes and exit the text editor.
- Restart MariaDB to apply the change.
sudo service mysql restart


